I Tapped Pay and Realized the Amount Was Wrong — What Now?
In our phone-first, app-driven world, tapping “Pay” is supposed to be the last step before you’re done. But what happens when you tap “Pay” and then catch a mistake — the amount charged is wrong? Maybe it’s higher than expected or an item you didn’t intend actually appears on the bill. This scenario isn’t just annoying; it can shake your confidence in digital wallets and saved payment methods.
This post walks through why this happens, how digital wallets and saved payment methods influence this experience, and what the mobile UX best practices are to help avoid and fix transaction errors quickly. We’ll explain transaction amount checks, refund processes, and the importance of confirmation screens, all from the perspective of a phone-first user.
Why the Amount Might Be Wrong After You Tap Pay
Various factors can lead to being charged the wrong amount after tapping “Pay” on your smartphone or tablet:
- Unexpected fees or taxes: Sometimes a checkout screen might not clearly show shipping fees, taxes, or service fees that push the total up.
- Saved payment method quirks: If you’re using a saved Visa or Mastercard on file, sometimes the system applies the wrong pricing or miscalculates discounts or promotions.
- App glitches or price updates: Prices may change between browsing and final payment due to backend updates or inventory errors.
- Digital wallet autofill issues: Wallets like Apple Pay and Google Pay autofill payment and shipping details, but if wrong options are stored, mistakes can happen.
- Merchant errors: The merchant’s system might send an incorrect charge amount that doesn’t match your order.
Understanding these causes can help you spot issues faster and know what to expect during checkout and after.
Phone-First Checkout Expectations: Fast, Clear, and Trusted
Mobile users want checkout to be lightning fast but also crystal clear. Here’s what phone-first customers expect:
- Few taps, but not fewer details: They want a streamlined flow without endless pages, but they still want to see the total amount before they confirm.
- Clear transaction amount check: The total cost, including taxes and fees, must be shown transparently right before the final tap on “Pay.”
- Instant feedback: If something seems off, users want immediate confirmation to fix it—not an ambiguous “processing” message.
- Biometric security: Using fingerprint or facial recognition to approve payments adds security without slowing the process.
When these expectations aren’t met, users are liable to tap away in frustration and mistrust.
Digital Wallets and Saved Payment Methods: Convenience Meets Risk
Digital wallets like Apple Pay, Google Pay, Samsung Pay, PayPal, and saved credit cards make payments incredibly fast. You’ve likely saved your Visa or Mastercard in your favorite shopping or ride-share app, so you don’t have to manually type card numbers each time.
This is great for convenience but introduces a couple of risks that influence transaction amount errors:
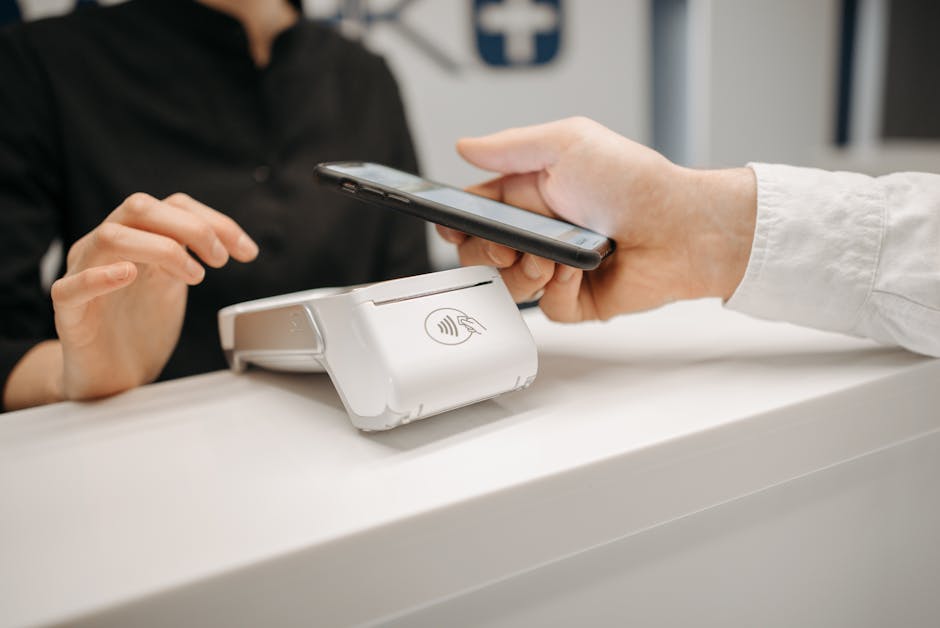
- Autofill assumptions: The wallet often autofills payment info, sometimes including old shipping addresses or previous coupons, which may no longer be valid.
- Lack of clear review screens: Some apps skip detailed review screens because they assume users trust their saved payment method and biometric approval.
- Delayed transaction amount display: Occasionally, the precise charge amount is only confirmed after “Pay” is tapped, especially in dynamic pricing apps (food delivery, ride-hailing).
Since wallets speed up checkout, there’s less time to mentally double-check the transaction amount. That’s why apps must design with clear totals and refund options in mind.
Mobile UX: Fewer Steps but Crystal Clear Totals
The best mobile checkout experiences balance speed with transparency.
The Importance of the Confirmation Screen
Here's what kills me: a solid confirmation or “review your order” screen showing:
- Itemized charges
- Taxes, fees, discounts
- Total amount to be charged
- Payment method details (Visa ending in 1234, Apple Pay wallet, etc.)
This screen acts as a final transaction amount check before the user taps “Pay.” It should also clearly note the refund and cancellation policy or a link to customer service.
Design Tips for Reducing Errors
- Show totals in large, bold text. Your final price is the star here, not buried at the bottom.
- Use plain language labels: Instead of “Processing Fee,” say “Delivery fee $3.50.”
- Make it easy to edit: Allow an “Edit Order” button on the confirmation screen rather than forcing users back through the entire flow.
- Require explicit user action: Don’t auto-complete payment without the user tapping “Confirm” or “Pay.”
Biometrics: Reducing Friction While Enhancing Security
With face recognition or fingerprint scan deposit by phone compared to card for Apple Pay payment approval, you avoid slow password entries or card number typing. Biometrics:
- Speed up checkout dramatically
- Provide strong user authentication
- Lower chances of accidental payments because approval requires intent
However, biometrics don’t replace the need for a clear transaction amount check before approval. They should come after the user has reviewed the total and taps “Pay.”
What to Do Immediately After Realizing the Amount Was Wrong
If you already tapped “Pay” and the amount is wrong, here’s a step-by-step approach to resolve the issue:
- Check the confirmation screen or payment receipt: Most apps send an electronic receipt right after payment. Verify the amount and items charged.
- Locate the refund or dispute option: Many apps have an obvious “Request Refund,” “Report Issue,” or “Dispute Transaction” button right in the order history.
- Contact customer support: If you don’t see a refund button, reach out to customer service via chat, email, or phone. Have your order number and payment method (e.g., Mastercard ending 4321) ready.
- Initiate refund via your digital wallet or payment provider: If the merchant is unresponsive, you can often dispute charges via Apple Pay, Google Pay, PayPal, or your bank’s Visa/Mastercard customer service.
- Monitor your bank or card statements: Keep an eye on your account to ensure refunds process correctly.
Pro Tip:
Some platforms let you cancel orders within a few minutes after payment — leveraging this can save you headache. Always check app notifications for cancellation windows.
How Merchants Can Improve to Prevent Wrong Amount Charges
While you can’t control every merchant’s processes, high-quality apps use these best practices to protect customers:
Best Practice Why It Matters Itemized confirmation screen before "Pay" Gives users a clear transaction amount check and chance to edit Transparent fee and tax disclosure Builds trust and reduces surprise charges Integrate biometric approval after total review Reduces friction but maintains intentionality Quick refund or cancellation options Mitigates mistakes and improves customer satisfaction Real-time pricing updates Avoids mismatches between browsing and paymentWrapping Up
Tapping “Pay” should never leave you worried about the charge amount. Phone-first checkout means balancing speed with clear, upfront transaction amount checks and easy fix paths if things go wrong.
Digital wallets and saved payment methods speed up payments but also demand user-friendly confirmation screens and transparent totals before biometric approval. Knowing your refund options and acting quickly if you spot a wrong amount will help you enjoy the convenience of mobile payments without the stress.
If you’re a merchant or app designer, focusing on these details builds user trust and loyalty in an increasingly fast-paced checkout world.
Quick Reference: What to Do if You Tap Pay and the Amount Is Wrong
- Immediately review your order confirmation or receipt
- Use the app’s refund or order dispute feature
- Contact merchant support with your payment method (e.g., Apple Pay) details handy
- Dispute via your wallet or card issuer if needed
- Watch your bank statements for refund confirmation